
This is step 9 of a 20-step tutorial for construction of McCall's shirt pattern 6898. See Blog Archive for other steps in the tutorial.
Step 9 Collar
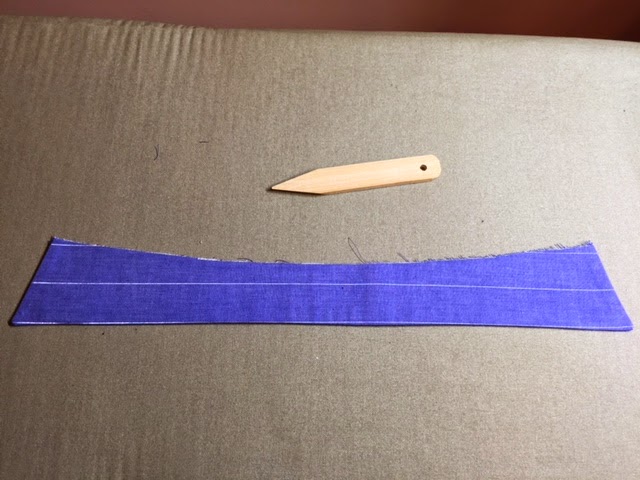
Pin interfaced collar to non-interfaced collar, right sides together. Non-interfaced collar edges should extend beyond interfaced collar almost 1/8".
 |
| Pin two collars together |
Below is a photo of the non-interfaced collar edges extending 1/8".
Stitch 5/8" from all edges, stitching off at corners.
Reinforce corner stitching by shortening stitch length to 2.0mm and stitching 1" to and 1" from collar points.
Needle should be down into the fabric when you lift the presser foot to turn the corner.
Turn at collar point to stitch 1" further.
Understitch seam allowances to non-interfaced collar as close to the corners as possible.
View of under stitching:
Trim seam allowances as indicated:
Turn collar unit right side out. Use point turner at corners. Press.
Pin neck edges together rolling collar as you pin; this builds roll into the collar unit. Machine baste collar unit neck edges together at 1/2" stitching line.
Step 10
Make a copy of the neckband pattern piece and mark the 5/8" stitching line with a pen and ruler.
Cut out copy along marked stitching line. This is a template.
Lay copy on interfaced neckband. Hand baste along template stitching line.
Half the neckband is marked.
Lay template on other side of neckband and baste along template stitching line.
Below is the neckband which has been marked with the template. If you stitch in subsequent steps exactly on the hand basting, you will have a high-quality, symmetrical neckband framing the face.
The hand basting is visible on both sides of the neckband.
Lay collar on interfaced neckband, matching notches. The interfaced side of the collar is facing up.
Lay neckband facing on top of collar and interfaced neckband. Pin edges together. Fold up 5/8" seam allowances on neckband facing as shown.
Close-up.
Stitch along hand basting line. Trim seam allowances.
Turn neckband right side out and press on seam along collar on both sides.
Step 11 Join Collar/Neckband unit to shirt
Lay right side of interfaced neckband to right side of shirt matching at center back. Pin curves in place. Neckband should extend 1/16" past garment neck edge at front to allow for turn of cloth.
Stitch neckband seam back tacking at start and finish. The garment neck edge is curved more than the neckband so it is easy to stitch puckers into the garment neckline. Note my pucker below needs to be ripped out and re-stitched.
Press seam allowances up into neckband.
Trim garment seam allowance to 1/4".
Clip neckband where needed to achieve a smooth neckline.
Fold non-interfaced neckband down over seam you just trimmed. Pin in place, just covering seam with non-interfaced neckband.
You have two options for stitching the neckband facing in place depending upon how well the facing folds down over the seam. If the facing folds down and covers the seam in all places including the front edges, stitch in the ditch through all layers.
If the facing does not cover the seam at the front edges in particular, stitch through all layers 1/8" above the seam which is on the neckband.
In my sample garment, I was able to stitch in the ditch. Note the pins are on the inside of the neckband and I am stitching in the ditch on the outside of the garment.
I pull the pins out before I stitch over the area they are holding.
 |
| View from inside of garment |
 |
| View from outside of garment |
Press neckband and collar over seam roll.


No comments:
Post a Comment