Sleeve work:
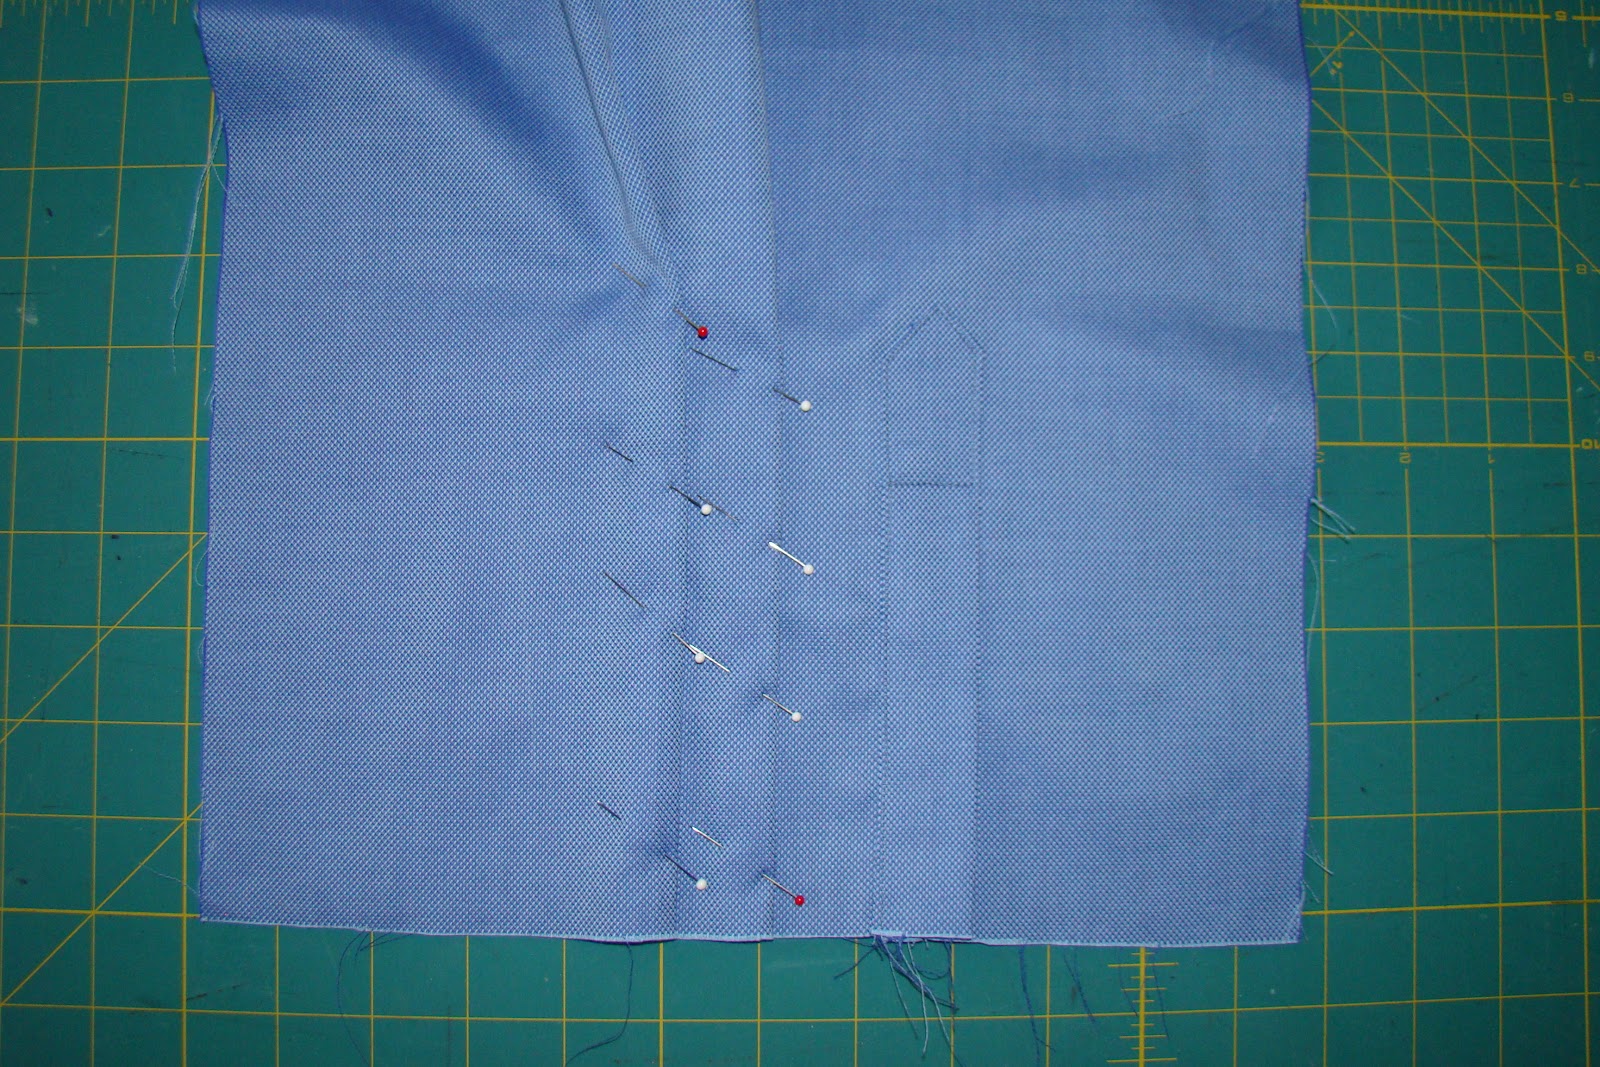
Press under 3/8" along sides and top of placket. Stitch right side of placket to wrong side of sleeve matching long rectangular box to placket line on pattern, shortening stitch length along top corners. The "chimney" on the placket is towards the side of the sleeve.
 |
| sleeve placket step one |
|
Cut down middle of stitched box and angle off to upper corners.
 |
| cut placket box open |
|
Press placket to right side of sleeve. You are now looking at the right side of the sleeve and the right side of the sleeve placket.
 |
| sleeve placket step two |
|
|
|
Fold shorter side of placket in half, placing pressed edge over seam. Stitch close to edge, ending at top of rectangular opening.
Fold chimney shaped side of placket so pressed edge covers seam. Stitch close to edge, ending at top of rectangle.
Pin upper edge of placket to sleeve. Stitch close to edges and along top of rectangular opening. Press.
Pin pleats along lower edge of sleeve. Do not stitch or press them as you may need to change their size when fitting the cuff.
Press under 5/8" on notched edge of cuff facings. Stitch along other three sides to interfaced cuff, right sides together.
Press and trim seam allowances. Fold corners up as pinned below. Holding the corner in the fold position, turn cuff right side out. Neaten corners with a point presser. Press cuff.
Attached interfaced cuff to lower sleeve. Adjust or add a pleat if necessary. All pleats should be equal in width. Press seam allowances to cuff, then trim.
Pin pressed edge of facing to seam. Top stitch all four sides of cuff on right side. Press.
Lay sleeve into armhole, right sides together, matching underarm seams and dot at top of sleeve to dot on yoke front. Stitch and press seam allowances toward sleeve. Serge to neaten seam allowances if you wish.
Buttonholes:
Mark one or two buttonholes on the cuff. In the photo I have marked two buttonholes, each 5/8" long and one inch apart. The buttonholes should begin 1/2" from the short edge of the cuff.
Stitch the cuff buttonholes.
Mark buttonholes on the right side of the shirt. First mark the location of the highest buttonhole that will be buttoned closed when wearing; this is typically an inch above the fullest part of the bust. Space the other buttonholes 2-3" apart from the bottom of one buttonhole to the start of the next. Center the buttonholes on the placket.
If you wish, add a buttonhole to the placket.
Cut open buttonholes with a buttonhole cutter or by folding buttonhole in half lengthwise and carefully cut open with scissors.
Determine button placement by laying right front band over left front band. Place a pin through the cut open buttonhole 1/4 of the way down the buttonhole. Pull the pin through the buttonhole to the left front; pin marks location you will center the button.
Use a double strand of thread and a hand sewing needle to attach buttons loosely to left front. The buttons must be loose to allow for the thickness of the right front.
Chest Pocket:
Press under 1/2" on lower and side edges of pocket. Press lower edge first. It helps to pin in place and iron between the pins.
Press a miter at the lower corners.
Fold top edge right sides together along 1 1/4" fold line. Stitch and trim.
Turn pocket right side out and press.
 |
| Stitching guidelines are marked with air erasable marker and ruler | |
|
To find the proper pocket placement on the chest, you will need to experiment. If the pocket is low the bust will appear to sag. If the pocket is too close to the side seam, the bust will appear wide. The blouse front pattern tissue suggests the pocket be placed 1 5/8" from the front band. Stitch the pocket in place with a 1/4" triangle at the top for strength.
Give garment a final press. You are finished!
 |
| Shirt Front |
|
 |
| Shirt Back |
|
 |
| Collar Rolls smoothly |
|
 |
| Cuff and Placket Detail |
|
|


No comments:
Post a Comment