My clothing construction class at College of DuPage is sewing a traditional button-down shirt with collar, long sleeves, and cuffs. Posts discussing the 20 construction steps will appear on this blog over the next few weeks. This is the design we are sewing:
Step 1: Shirt Front Princess Seams
Garment will be sewn with French seams. How to sew a French seam will only be explained during steps 1 & 2.
Lay Bodice Front and Bodice Side Front, wrong sides together, along princess seam. Stitch 3/8" from raw edges with a 2.5mm stitch length.
Press seam flat on one side.
Press seam flat from other side also.
Press both seam allowances to center front, using a ham.
Trim 3/8" seam allowance down to less than 1/4".
Fold and pin along trimmed seam to encase raw edges.
Stitch 1/4" from folded seam/edge.
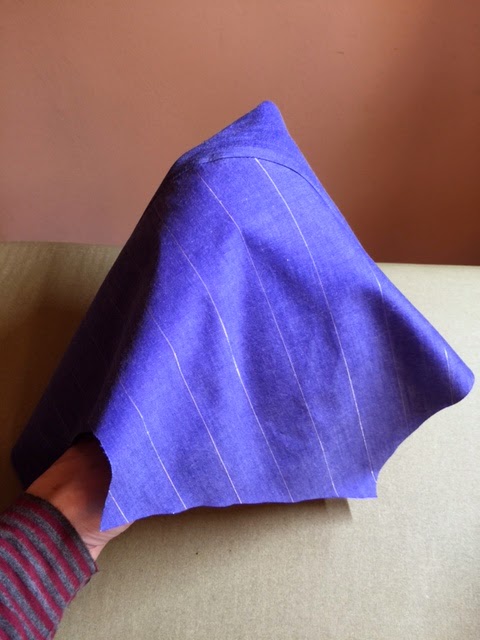
Press seam flat on one side, then the other side, and finally to the center front. Below you see a ham in use; the fullest part of the bust is along the narrow curve of the ham.
Here is the front princess seam:
Step 2: Shirt Back Princess Seams
Stitch Back princess seams using French seams as described above. Below is a view from the inside of the Back.


What a great project, especially for someone who feels a little intimidated about putting together a shirt.
ReplyDeleteBeginning students have a much easier time constructing their first projects with photo support. The photos are much more helpful than the line drawings in the pattern instructions.
ReplyDelete