The dresses are finally finished, and a breezy day helps illustrate how fun they are to wear. Thanks to a rainy June my garden is in great shape so I have an attractive background for the photos. I began this project one month ago, inspired by a dress from the
http://www.style.com/fashionshows/complete/slideshow/S2013CTR-CDIOR/#19 Christian Dior Spring 2013 Couture Collection. On May 20, 2013 I posted Part One which explained how to create the floral under dress. On June 3, 2013 I posted Part Two which explained half the construction of the red over dress. Later in this post I complete the final construction steps.
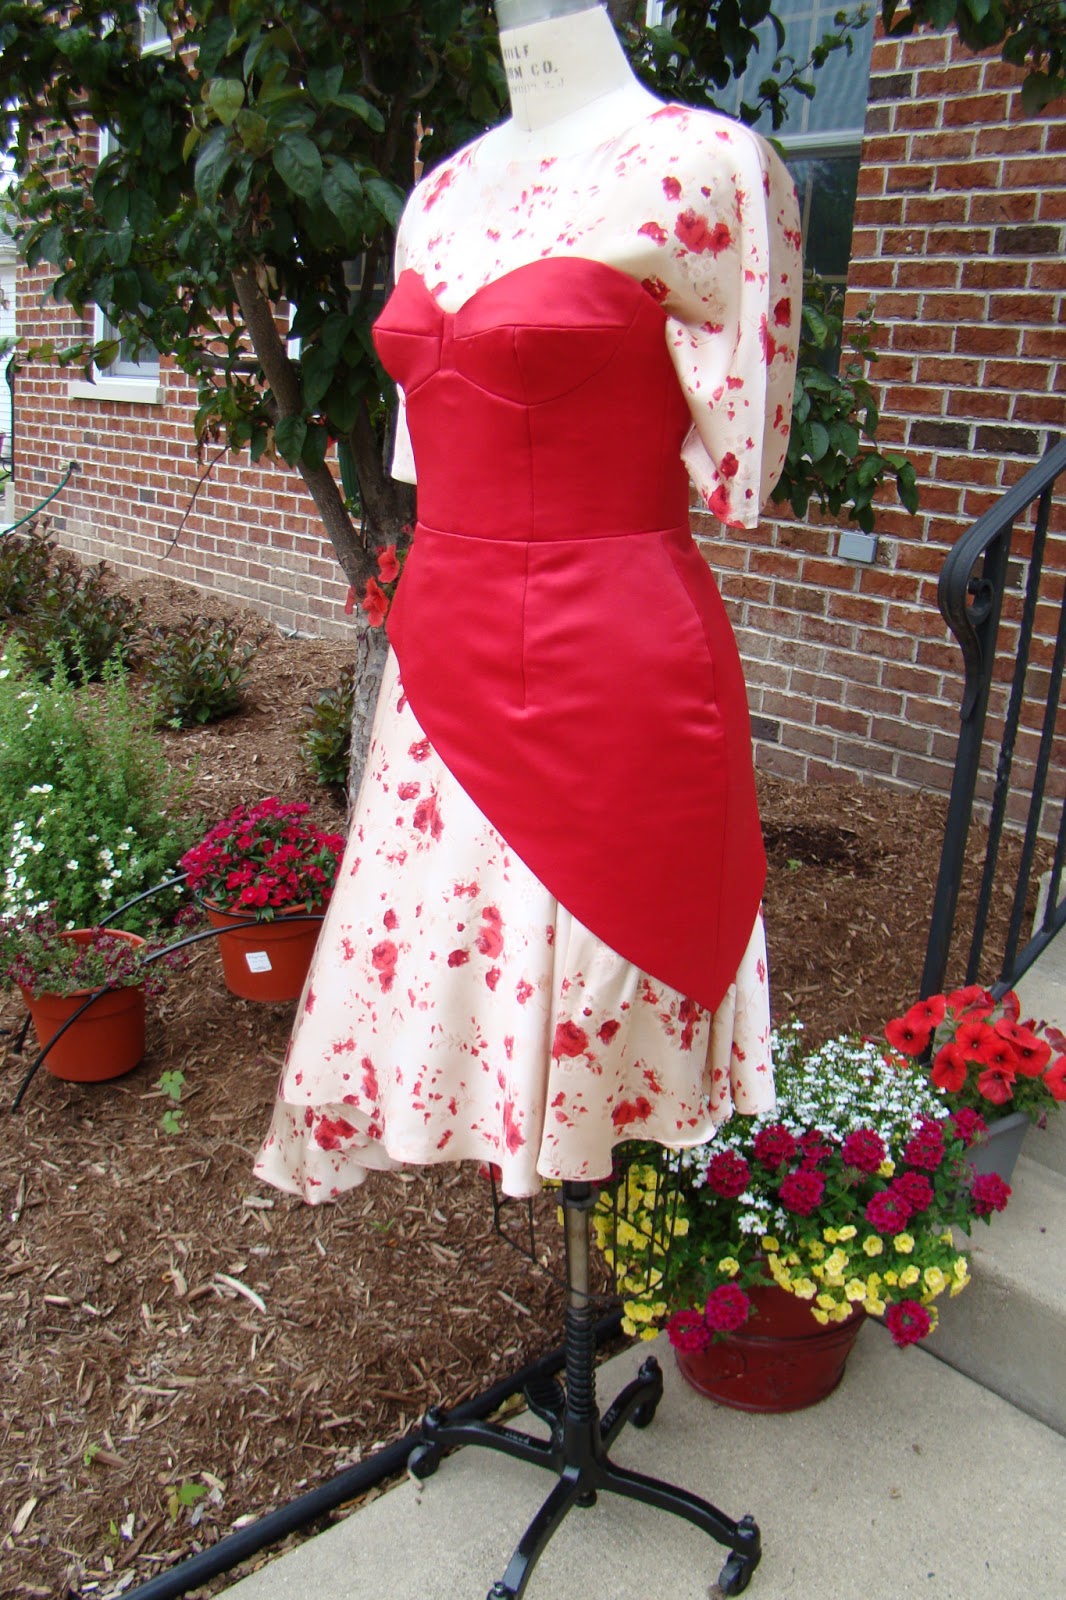
I was determined that this be a comfortable dress to wear, and you can see the looseness just below the waist. I fit the dress so I could sit, eat, walk etc. and not feel the pressure of a corset. I can feel the waist stay but not the rest of the red dress.
The longest hem length of the red dress is paired with the shortest hem length of the beige floral dress. The bust seams define the bust in unusual detail. I like these seams because they ensure the outfit will not be too ladylike or prim, to use old fashioned words. Note there is ease in the left hip side seam so the red dress is not tight.
The right side seam has plenty of ease, though perhaps a bit less than appears in this photo. The floral dress has plenty of room to move in the breeze or as I walk, which is always flattering. The red dress was significantly more work than the silk floral dress, and my fingers will be grateful for a break from hand sewing into thick coutil.
The silk charmeuse floral under dress is wearable alone. I could use the red over dress as a strapless top, and pair it with a skirt or trousers. I'll experiment and see how often I use the two dresses separately versus together.
If you are following the construction of the red over dress, the final work is as follows:
Stitch the waist seam, press open, clip and hand fell allowances to coutil.
Press hem and zipper seam allowances to inside.
Corner angles and bulk may give you trouble. This angle does not want to lay neatly.
Trim the coutil out of the seam allowance at the corner to reduce bulk.
Press and pin upper edge of bodice in place.
Check on right side to verify curves are attractive and left side of garment matches right side of garment in shape, width and length.
Hand fell all outer edges in place.
Hand pick lightweight separating zipper in place. Add a hook and eye to take pressure off the top of the zipper.
Cut lining from fashion fabric pattern pieces. Mark stitching lines with tracing paper to make your sewing more accurate.
Add buttonholes to the back waist of the garment for a waist stay.
Tack the 1" grosgrain ribbon waist stay to the seam allowances. Place a trouser hook and eye on the waist stay ends.
Tack the lining to the garment at the waist, over the belt, to keep the lining from shifting up and down during wear.
Pin lining in place, smoothing it to fit. You may or may not follow the outer stitching lines. Hand sew lining along all outer edges.
Add thread bars to upper bodice side seams. Ribbon can be strung through these thread bars to serve as hanger loops. I don't want hanger loops permanently sewn into the garment as they may hang visibly out the hem of the garment.
Final press with a press cloth and the garment is done. The red outer dress was a lot of work but it should be a fun piece to have in my wardrobe.
Thanks for reading about my work. I have several summer projects in progress which I'd like to share in future posts.


Absolutely exquisite and well worth all that time spent on it. Well done.
ReplyDeleteStunning! You are going to look super hot!
ReplyDeleteYou details and your documentation are truly exquisite, thank you so much for sharing.
Hi there Ann,
ReplyDeleteStunning work as all the garments I have seen in this blog are.
May I ask for some guidance from you. I am finishing off an evening dress for my daughter, and wish to add a waist stay.
Previous bloggers have the stay showing on top, and I love the elegant way you hide it. However, also, I had been told to make it tight, which would of course then pucker the dress.
Would you be able to confirm what I think you do?? It looks like the waist stay is the same length as the waist and not super tight.
Looking forward to learning what you do to ensure I make mine fit correctly for my daughter; teenagers are hard to please!!