Friday, June 29, 2012

Glove Making Made Modern

Sewing Level:  Easy and Intermediate

Over the years I have attempted to make gloves to coordinate with a special garment.  I used the sewing machine and the finished gloves were sloppy and uncomfortable to wear.  Finally I have discovered the secrets to making a respectable pair of gloves in a reasonable amount of time.  Maybe it seems odd to bother making gloves when stores sell a variety of great styles and fabrics.  I viewed glove making as an unconquered sewing challenge.  Here are my recent results.


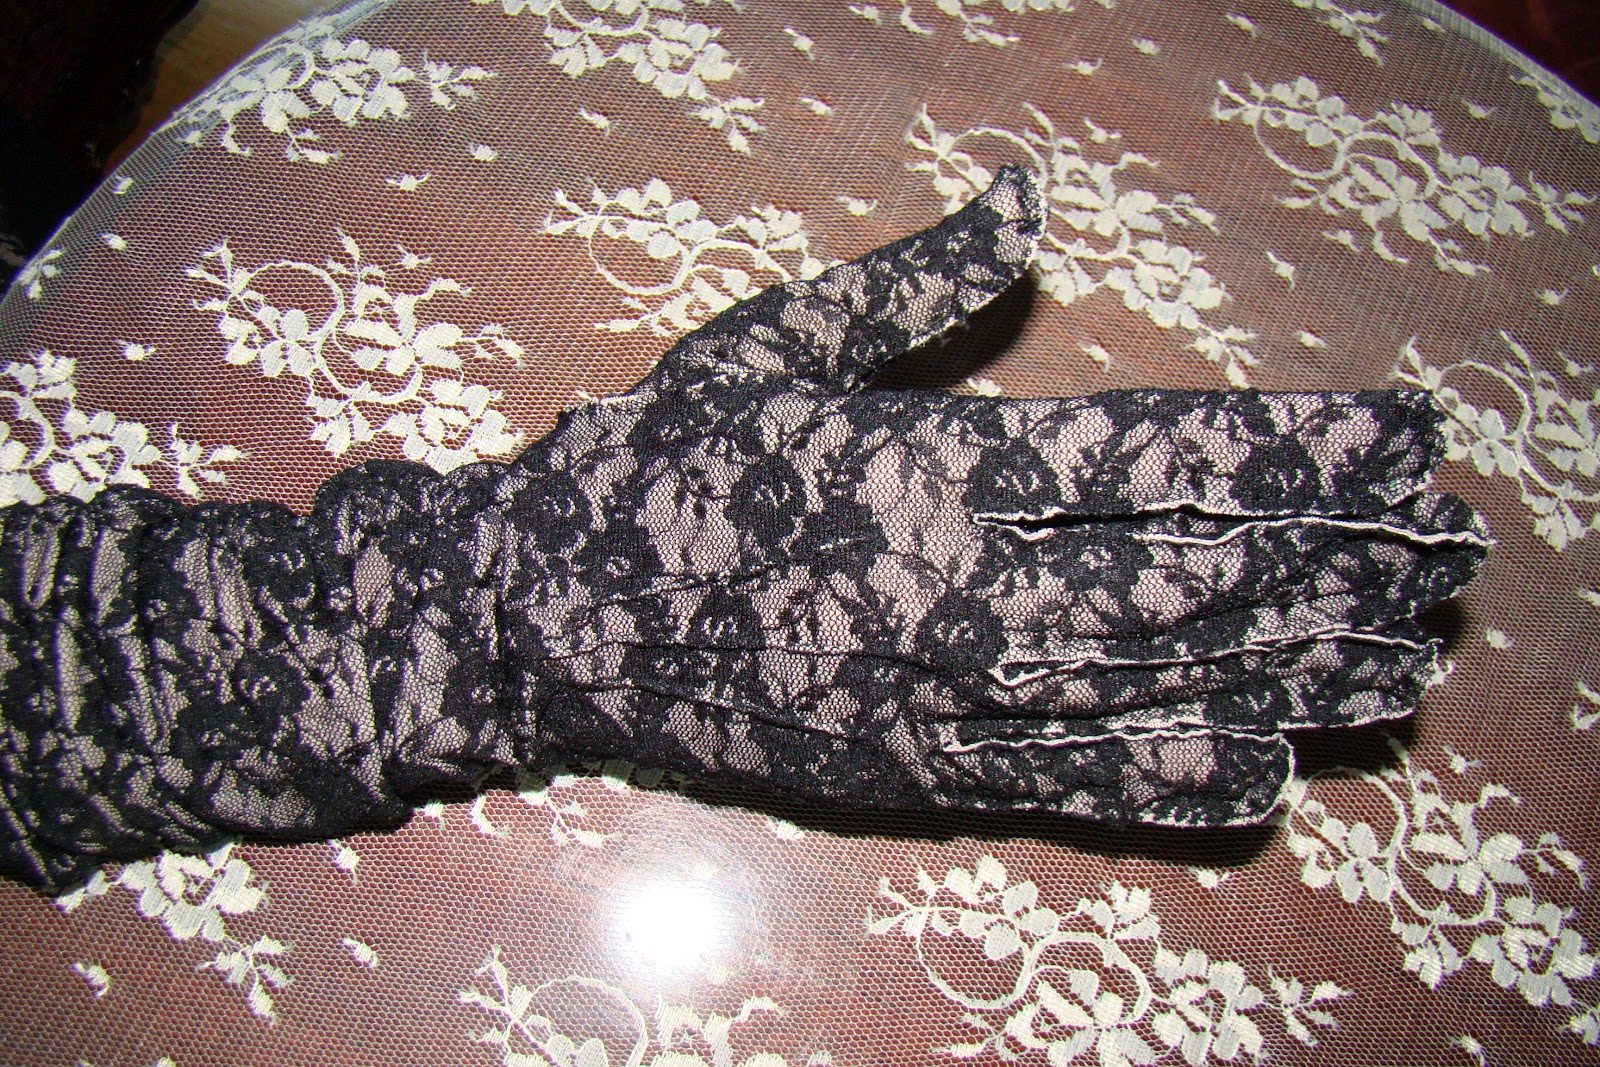
4 way stretch lace underlined with tricot
These gloves can be pulled up to the elbow or scrunched down around the wrists.  They are mid weight so I would wear them fall into the Christmas season for day and evening.  They would be lovely with trousers and the short faux fur jacket I made last Spring. 


Thumb is always a separate pattern piece

three pleats on top of hand

The key to sewing beautiful gloves is to sew them by hand rather than with the sewing machine. I created Vogue 7949 View A in a 4-way stretch lace from spandexhouse.com.  The black lace is backed with a heavyweight nude tricot (work done by the factory) and neither fabric frays.  I used a tiny running stitch, wrong sides together, with a 1/8" seam allowance.  While the gloves did take several hours to assemble, it is a perfect project to carry with you and work on while waiting for appointments, watching family sports events etc.  Vogue 7949 fit great and I have a somewhat long, boney hand.  The middle finger of the View A pattern is a bit wide and next time I will narrow it 1/2" total in circumference.  The other fingers were form fitting and comfortable.  The pattern has sizing for the length of the glove but not the width of the hand so you will have to experiment.  Here is the pattern:

a great glove making pattern

Not interested in hand sewing a pair of gloves?  Then eliminate the fingers and be cool! 


These gloves are made form polar fleece and are lined with nude cotton/lycra knit.  You can sew and embellish them in an hour. 
quick, easy, and you can use the sewing machine
The pattern is available at ljdesignsonline.com.  The pattern has two sizes, and it is easy to adjust the pattern length.  Fingerless gloves are practical, even in a cold climate, because you can accomplish tasks without removing your gloves.  Pulling items from your purse and making telephone calls are easier in fingerless gloves.  Happy sewing!

Friday, June 22, 2012

Summer 2012 Tutorials

I'll be featuring three garment construction tutorials this summer.  Since the tutorials are very long articles, they will not appear as normal posts on the website's main page.  To access them, you will find buttons on the right side of the screen.  The buttons are not there today; look for them early next week! 

The first garment is Simplicity 2339, a traditional fitted shirt with collar, neckband, front bands, chest pocket, long sleeves, sleeve placket, cuffs, buttonholes and buttons. 


The shirt is appropriate work for a beginner or intermediate sewer.  I'll demonstrate the construction steps for View B with a light blue Italian cotton shirting.  The tutorial will be updated weekly with the garment taking three or four weeks to complete.  I don't teach the standard pattern instructions; instead I share a variety of easy and efficient methods I have learned over the years.  The goal is to make a high quality garment as painlessly as possible.

The second garment tutorial is a long evening gown made with Marfy pattern 2867.  The gown is advanced level work but if you are an intermediate sewer with some pattern drafting experience you might enjoy this project.  Pattern drafting skills are needed because the pattern has no seam or hem allowances as well as no guide sheets or instructions. 
Purchase pattern at voguepatterns.com or marfy.it
 
I will use mainly couture techniques but again an intermediate sewer may find this project within reach if they have a good understanding of pattern drafting.  The skirt will be made with a fabulous black silk chiffon embroidered with chiffon petals.  I found the fabric at gorgeousfabrics.com and purchased their last four yards.

Silk chiffon for Marfy 2867

The bodice will feature a black swiss lace overlay, red silk crepe and georgette as well.  There are many methods for applying boning to an evening gown, so you might enjoy seeing how I build structure into this gown.  I will spend six weeks teaching you about the construction of this gown.  The tutorial will be updated regularly as the gown progresses.   

The third garment is a cocktail dress made with Marfy 2845.
Purchase at marfy.it
This dress is for advanced sewers.  The pattern is difficult to assemble because there are numerous layers to the bodice and assembly must be accurate for the garment to lay nicely.  Construction will be couture.  This dress will take six weeks to sew.  I purchased an interesting metallic animal print brocade for this dress.
Brocade for Marfy 2845

Please check the tutorials regularly as they will be updated weekly.  Updates will appear in the tutorials, not on the main blog page.  Please let me know if you have questions regarding the construction.  Happy sewing!

Friday, June 15, 2012

Summer Dress McCalls 6346

Sewing Level: Easy


McCalls 6346 View C is a great pattern choice for a summer dress. The design could be a casual day dress or sophisticated evening wear depending upon your fabric choice.  You can add layers of flounce and trim as well.  Most important, this pattern is well drafted which will provide good fit for most sewers. The drawstring at the neckline and sleeve hem eliminate common fit issues in the bust, neckline, and armhole areas. The eight waist darts remove excess circumference smoothly. 

I know the pattern drafting is excellent because I first made the garment up in unbleached cotton muslin.  The center back zipper opening was pinned badly by a complaining male teenager but you will see that fit is good.
Dress Front
Dress Back
I cut the pattern a size 12 from neckline through bust and waist, then blended a size 14 for the hips.  The eight waist line darts (four front four back) make for a smooth transition between bust, waist and hips.  Normally I fit correct the pattern back at the waist for sway back but even that adjustment is unnecessary.

The dress is five inches too short for my taste.  A hem line flounce will add four inches of length to the dress so I will simply lengthen the dress front and back one inch.  Since the pattern has only three pattern pieces and I have done my fit work, I anticipate the sewing will take only three hours. 

I cut the dress first in a $5.99/yard Donna Karan remnant found at Vogue Fabrics in Evanston, Illinois.  The bolt did not list the fiber content, and my guess is a 60" wide rayon/acetate blend.  I constructed the dress seams with a 4 thread over lock.   The flounces were hemmed with a narrow rolled edge on the over lock.  If I didn't own a serger, I would use french seams for the side seams.  I would run a ribbon along the flounce edges.  You could turn under a 1/4" hem on the flounces but you will be hemming for a few hours.  The assembly order is:   

  1. Stitch the eight darts; press to center front or center back
  2. Stitch the side seams
  3. Stitch the sleeve underarm seam
  4. Join the sleeve to the armhole
  5. Stitch the center back seam from hem to bottom of zipper
  6. Insert invisible zipper
  7. Neckline casing
  8. Sleeve hem casing
  9. Hem and attach flounces
  10. Mark darts
  11. Final press
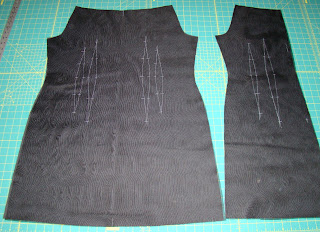
Mark your darts well since they are essential to the design.  I use tracing paper.


I spent 15 minutes cutting out the three pattern pieces, and 2.5 hours sewing the dress.  Then I spent 45 minutes hand sewing a beaded trim above each flounce.  Here is the result:


When I make the effort to create a muslin for fit correction, I will usually sew the design at least three times to maximize the benefits of fit work.  I also made up the pattern in a red cotton/lycra pique for very casual day wear.  The pique was $3.49 per yard at Vogue.  

I love prints but you will seldom see one on this website because prints are difficult to photograph well.  This dress would be great in a print. 

If you have just a few hours for sewing, consider trying this pattern!

A word about shoes:  For decades you would have seen these dresses styled with black shoes.  The current trend is to wear nude shoes.  Find a shade that matches your skin tone well.

Happy sewing!

Friday, June 8, 2012

Embellish with Petals

Sewing Level:  Easy

Here is the July 2012 cover of In Style Magazine.  The hem of Salma Hayek's dress is covered with rows of pleated trim.  The embellishment and soft pink color look like hundreds of delicate flower petals to me.  To recreate the look, you could purchase numerous yards of pleated trim; 40 or 50 yards looks right to me given the minimal spacing between rows.  To lower the cost you could pleat the trim yourself but that would take the better part of a weekend.  In addition, you would need to dry clean the finished garment to hold the pleats, and if the fabric is natural fibers, the pleats are likely to release anyway.

I created a similar look by creating simple flower petals.  My technique creates a lovely embellishment with a reasonable amount of time and fabric.

The front bodice of this ivory embroidered cotton dress is covered with rows of "petals" that I made from a half yard of scrap fabric.  The petals add interesting texture and increase the size of the bust which is a good thing in my case.

The hem of this maroon silk twill dress is embellished in a similar manner.  Since a hemline is larger in circumference than a bodice front, I needed many more petals for the maroon dress, close to 1.5 yards.


To create the petals, make a circle pattern from the kitchen glass of your choice.  My circles are 2" in diameter.  You could make petals of various sizes for an interesting look.  Cut out circles from your fashion fabric without regard to grain line.

Determine where on the garment you want to apply the petals and mark with tailors chalk and a ruler. 


Fold a fabric circle in half, then in half again.  Cut across the fold removing 1/4" - 1/2" of fabric.

Unfold the quartered fabric circle so it is again a half circle.  Pin and stitch the folded fabric circles to your garment varying the spacing.  Your petal seams  may all point up or down. 


On the ivory dress, the seam points down meaning the petals drop down to cover the seam.


Add caption

The petal seams on the maroon dress alternate direction.  Here the top row is placed with the seam pointing down.  The next row has the seam pointing up.

It's probably best if the top row has the seam pointing down.  Below the first row you can experiment with placement to achieve maximum volume. 


Have fun with this easy technique and be creative in the placement of your petals!