I started a denim blazer back in early June thinking that my sewing schedule would return to normal after two years of graduate studies. Just before the graduation ceremony I decided to take four extra classes over the summer so my sewing was again delayed.
Well, the four classes are completed and I finished the blazer.
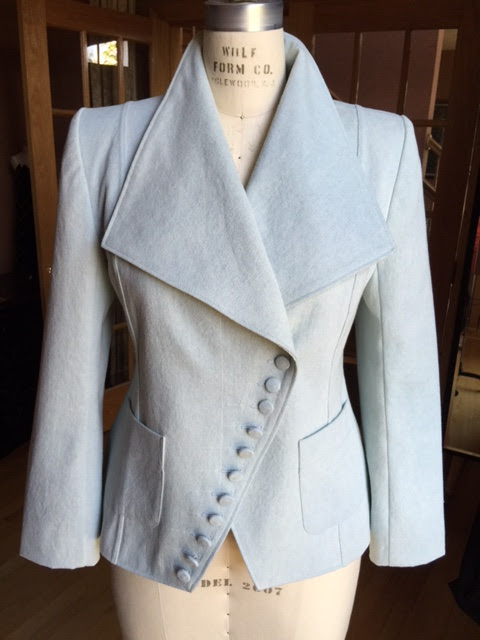 |
| There is no interfacing in this jacket; I relied solely upon the fabric weight for structure. |
 |
| Flat Fell Seams are synonymous with denim. |
 |
| The top three buttonholes are functional. |
Here are a few construction details.
1. I used an evaporating marking pen to mark the exact placement of the collar panel at the neck/shoulder seam. See the "X" below. It is very easy to be inaccurate sewing this area and the appearance of the collar and laps is greatly affected.
 |
| Neckline of Jacket Back |
Here are the collar panels joined at center back. I fused interfacing at the corners, marked the exact stitching lines with the evaporating ink marking pen, and stay stitched the corners. These steps are not difficult nor time-consuming but they ensure I will stitch the seam just once. By the way, the jacket is completely non-interfaced but for these two small squares. My thinking was that the jacket is a mid-weight stable denim and should not hang too firmly. I haven't made a jacket without interfacing in at least two decades! A leap of faith.
 |
| Clip to the stitching lines which are reinforced with interfacing and stay stitching. I marked the stitching lines so I could see exactly where to stitch. |
Here is the shoulder/back neckline seam. Note the two sharp corners on either side of the neck. All the marking/stay-stitching/interfacing paid off!
View of shoulder and neck seam from inside. Note the seam allowance wides towards the sleeve because I am using a thinner shoulder pad than the pattern expects.
2. Armhole looks good with the thin shoulder pad.
3. I used a cool floral lining for the jacket. I wanted a print that related to the vintage theme but added color just the same. The lining is polyester. I usually line in silk rather than polyester but for no particular reason I felt silk was a mismatch with the faded denim.
4. To build roll into the collar, I pinned the neck edges of the garment and facing at the back neck edge. The two seams will be hand stitched together soon but for now they are just pinned.
I roll the collar back in place keeping the under and top collars aligned.
See how the under collar extends beyond the top collar in the photo below? This happens when the under and top collar patterns are the same. I removed the excess fabric so the collar rolls nicely.
Below is a photo that shows the garment and facing stitched right sides together. You can see 1/2" of under collar fabric sticking out along the back. This is trimmed away.
I have so many projects planned and my flower garden is gorgeous. A great summer!
 |
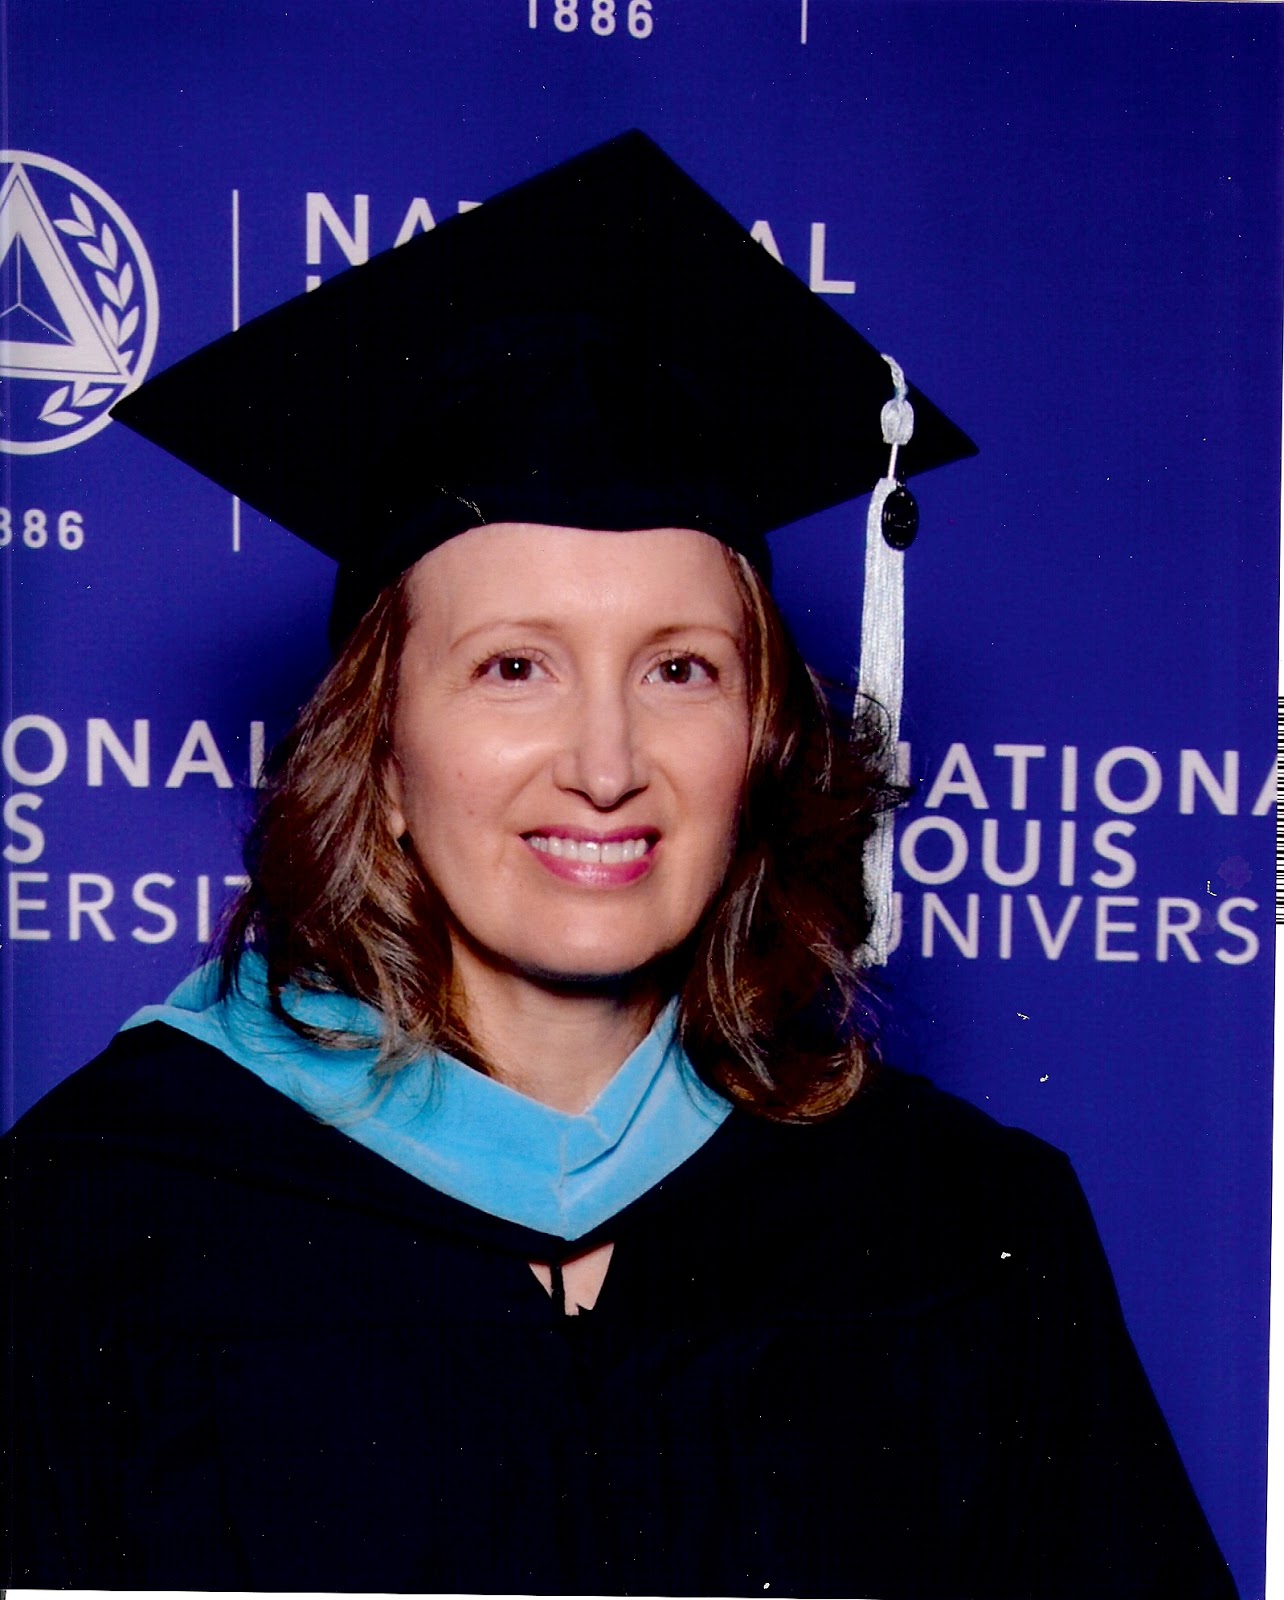
| Happy to graduate! |


Congratulations!
ReplyDeleteThat jacket is really lovely! I still struggle with perfect pivot points. I usually make marks but not the entire stitching line. I'm going to try that next time...I always end up sewing multiple times :)
That jacket is fabulous! Thanks for posting progress pics. Congratulations on your graduation!
ReplyDeleteThanks for the nice comment about the jacket. It will work well with so many other garments I already own. For many years I did not mark stitching lines and my sewing was inaccurate. Once I discovered marking with tracing paper I think I started saving sewing time! Happy sewing.
ReplyDeleteThanks, Robin. Most of the jacket was constructed in early June. It really took until now to figure out the buttonholes.
ReplyDeleteAbsolutely beautiful Ann......I always want to make the items you do;such lovely style.
ReplyDeleteI ventured into Marfy patterns after reading your blog and I loved the styling and fit.
Thank you for your inspiration.
I am so happy to hear from you as you always boost my spirits. You truly make the world a happier place and that is such a special gift! I should try another Marfy pattern. Last winter I bought a great coat pattern with a shawl on top, and I'd like to make that. Getting started is the hardest part because the patterns are challenging but the pieces always fit together.
ReplyDeleteSorry, how on earth did I not congratulate you on your fantastic achievement...Splendid Graduation photograph. I have nothing but absolute admiration for you as a person and your amazing sewing skills. The fact that you share your expertise with such grace and kindness is something I will continue to treasure.
DeleteOh by the way, I am really going out on a Limb at the moment; I am going to attempt to make a fully tailored man's suit for my youngest daughters boyfriend.....padstitching and welt pockets here I come....HELP
Thanks so much, Marysia. Graduate school nearly killed me but it also changing my life in a positive way. Once I get the new job under control, I am back to sewing! The man's suit is an excellent idea because the garment can be worn for many years. I made a suit for my husband two or three years ago. The suit is nice but I made an error when I fit corrected the muslin. I shortened the back length an inch too much across the shoulder blades. When my husband wears the jacket, the jacket tends to slide away from his neck in back and down the body. I think I rushed the muslin work.
DeleteAnn
Hi again Ann,
DeleteMay I ask, did you blog about the making of your husband's suit; If you did I would love to find it and follow it.
I just knew you would have made a gentleman's suit and I am sure it is absolutely perfect........................I aspire to your high standards.
Take good care and thanks for continuing with your blog, it is so appreciated.
You have done a wonderful job. I especially liked your illustration and explanation of the turn of the cloth with the collar. Thank you for sharing.
ReplyDeleteCongratulations! And what a beautiful denim jacket you've made.
ReplyDeleteThe denim jacket is awesome! I thought I was the only one taking advantage of the purple markers. Some of my white projects have turned out purple for two days, then magically back to pristine white. As for no interfacing, I remember those original washed denim blazers from the 70's (yes I'm that old, I was there, and even made some of my own), the Britannia label comes to mind, and they didn't use interfacing. You just had to iron out the lapels, or just wear it fashionably rumpled
ReplyDeleteYou make me feel better about omitting interfacing with your reminder that denim in the '70s was not interfaced. I have been so attached to interfacing that I haven't considered working without it! My favorite marking tools are the purple/blue markers and the white Chakoner tool because they make thin, easy to see lines. Thanks for reading.
ReplyDeleteCongratulations Ann on completing your master's degree. I am happy you are able to get back to the blog as I look forward to the latest updates.. It's always a pleasure to see you around town donning your latest creation. You are truly amazing with talent.
ReplyDeleteI just discovered your blog as I was searching google. This is the type of sewing that I love! I sure hope you return to blogging again!
ReplyDeleteHi, Erica
ReplyDeleteI am happy to hear you found my blog. I have so much fun sewing and making new friends through the blog! Where are you from and what do you like to sew? I will be blogging again but my schedule is still erratic. My current project is working with silk knits, and I will post a simple article when the top is finished. Happy sewing.
Ann