 |
| Burda Style #101B, October 2014 |
I haven't sewn a couture dress for months, so it is time to make one. I love the design lines of the above dress, so that will serve as the preliminary pattern. This dress is street length so it is suitable for wear during the day, unlike many of my couture garments. My fabrics are cream wool lace and a cream/silver/gray/beige raw silk-type suiting, both purchased from
http://emmaonesock.com/ one year ago.
 |
| wool lace |
 |
| beige, gray, silver, brown raw silk suiting |
Below is the muslin front. Fit appears good, but there is a length issue--the bodice is too long from shoulder to fullest part of the bust.
The side view makes the length issue more apparent.
Back view is good. You can see the bodice length issue on the right side at the waist, but it is not easy to see.
I could feel the bodice length issue when I wore the muslin. Below you see fabric folds across my midriff. You also see that the waist seam is a bit too low. There is excess length, not excess circumference.
I will fold out 1" of length from the bodice front and bodice back, just above the full bust.
The second fit correction is for the bend of the sleeve. My arms are just regular arms to me, but their natural position is less straight than Burda patterns expect, so I will reshape the middle sleeve panel.
The Burda Style monthly pattern magazine offers cryptic assembly instructions. Below is a sample of the information provided for the dress I am sewing. The directions are not couture construction, so I will not use them much.
Burda patterns are traced off of a master sheet Below is a view of a master sheet. The pattern lines for many different styles overlap. After a while, your eyes grow accustomed to seeing the master sheet, and it's not so difficult to find the lines you need.
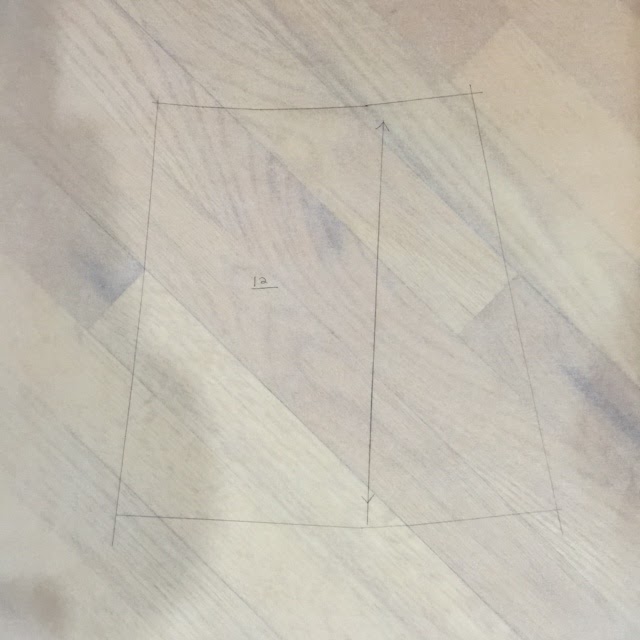
Tracing paper is laid over the master sheet, and I use a fine-line marker and ruler to trace off each pattern piece. The outer edges are stitch lines; there are no seam allowances or hem allowances.
To assemble a muslin, I add 1/2" seam allowances. If I thought the test garment would be too small, I would use larger seam allowances. When I cut from the actual fashion fabric, I will use 1" seam allowances.
Below is muslin with the stitching lines, grain lines, and match points traced on. I find large sheets of dressmaker's carbon paper to be accurate and easy to use. Susan Khalje sells it at
http://susankhalje.com/shop/waxed-tracing-paper/.
I will correct my pattern for fit issues, and then I will cut and mark the fashion fabric. My plan is to show you pictures of the entire construction process and have a discussion about various construction options.


Love this post! I have had my eye on this dress, and seeing all the changes you are making is extremely helpful, since I have a short waist. I remember both those fabrics from EOS, and can't wait to see this dress made up in them. It's going to be gorgeous!
ReplyDeleteLook forward to following along.
ReplyDeleteTia,
ReplyDeleteI want the bodice sides and upper sleeves to look more like a jacket, so I'll use the raw silk there. I plan to add trims to define the "jacket" edges. This should be fun.
Thanks, Vicki. I really enjoy construction details so this is an opportunity to put a lot of effort into them.
ReplyDeleteWonderful visuals, Ann - can't wait to see how this comes together. I'm surprised that Burda didn't build the curve into the sleeve pattern, with all the pieces that sleeve has!
ReplyDeleteI haven't decided exactly how I will fit correct this sleeve. I may create a four piece sleeve!
ReplyDelete