What is a good method for finishing the seam above a zipper? The goal is to have a sharp corner, keep fabric away from the zipper teeth, and reduce bulk. This yellow dress has a lined bodice and invisible zipper, but the method works with facings and all purpose zippers as well.
 |
| Bulk free, extra neat finish at the zipper top |
To discuss the method, you need to understand how I am assembling the dress, so that information is included as well. First, stitch and press the bodice darts, princess seams, and shoulder seams as show below.
 |
| Step 1 |
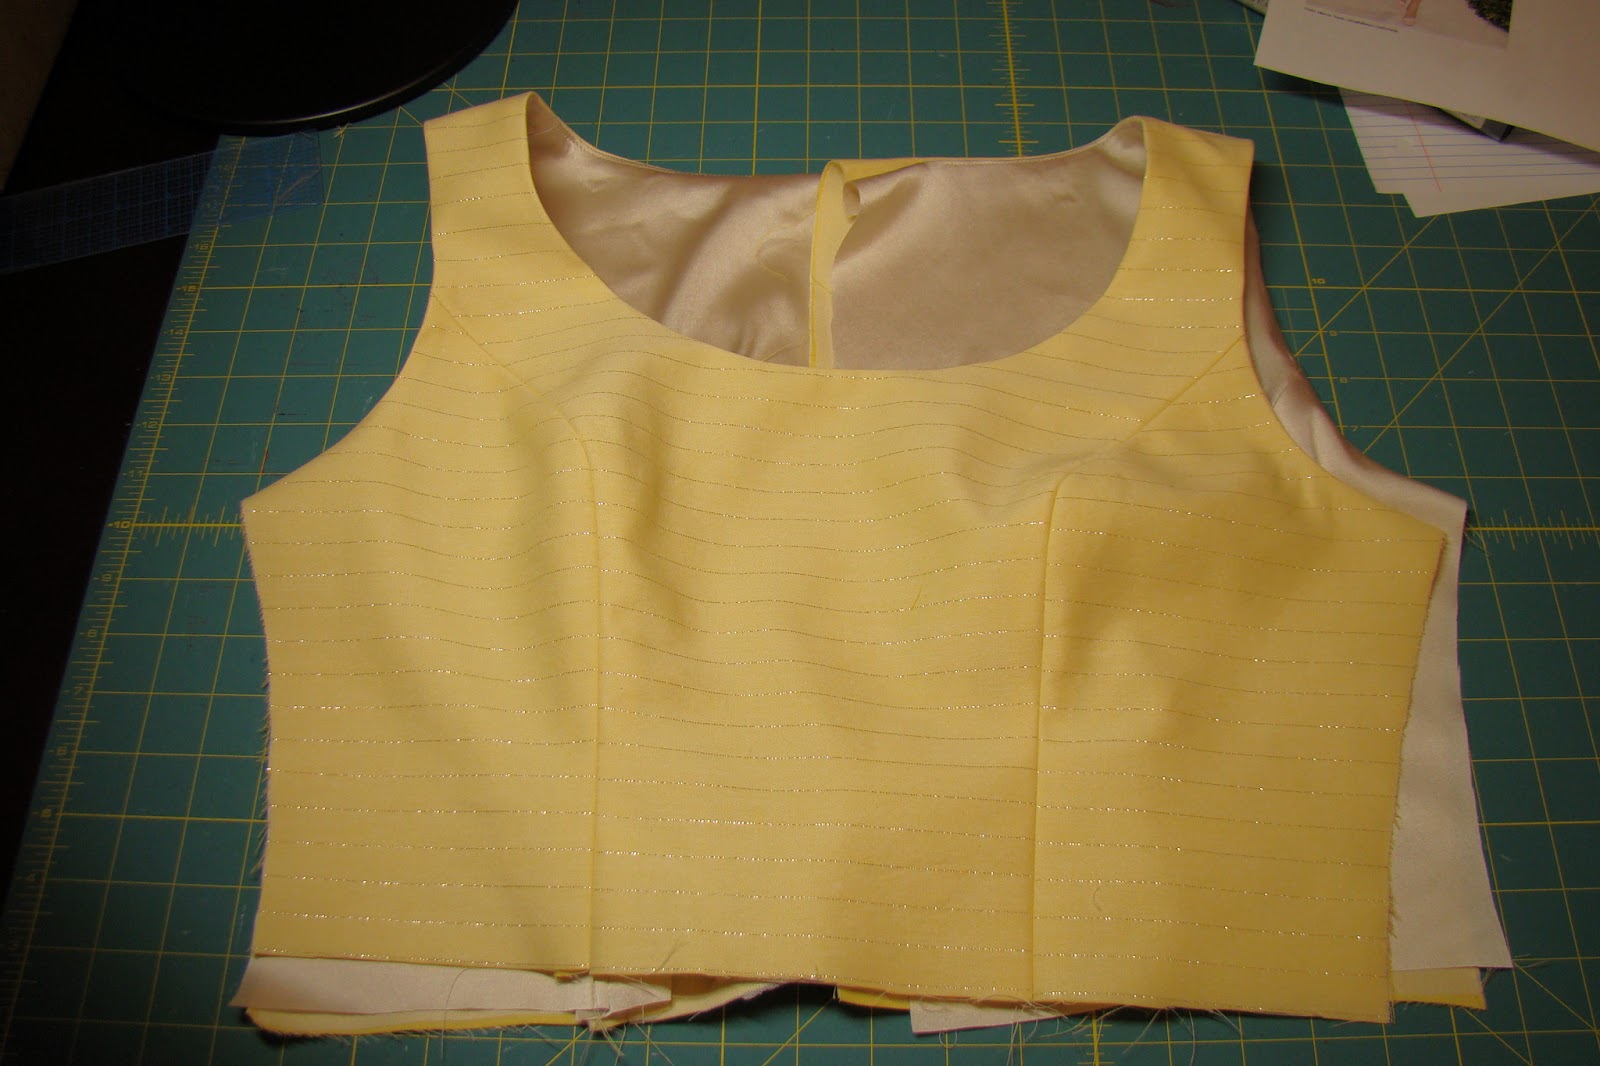
Second, stitch and press the lining (or facing) seams.
 |
| Step 2 |
Third, stitch the bodice and lining together at the neckline, right sides together. Clip and press.
 |
| Step 3 |
Under stitch the neckline to 1 1/2" of the zipper area (not installed yet).
 |
| Step 4 |
Turn neckline right side out and press.
 |
| Step 5 |
Right sides together, pin armholes together. To prevent the lining rolling to the outside, I have pinned the layers so I will be stitching 5/8" away from the fashion fabric cut edge and 6/8" away from the lining cut edge. With bulky fabrics, the difference would be 1/4" rather than 1/8".
 |
| Step 6 |
Stitch, clip, press, pull garment right side out and press.
 |
| Step 7 |
Install the zipper.
 |
| Step 8 |
This is a view of the zipper from the outside of the garment.
 |
| Step 9 |
Clip the zipper tape off above the top stop. The red pin marks the location I would like the lining to lay along in its final position, perhaps 1/4" away from the zipper teeth. The red pin sits in the lining.
 |
| Step 10 |
Pin the lining to the zipper right sides together, with the red pin 1/4" over from the zipper teeth. Note in the photo below that the garment back neckline appears to be too wide for the lining. It is not. The lining is laying 1/2-5/8" beyond the zipper teeth and that causes the difference.
 |
| Step 11 |
Stitch the lining from top to waist or bottom of zipper. Here is a close up of the top of the zipper area.
 |
| Step 12 |
When the garment is turned right side out the top of the zipper is not finished, but the lining lays neatly along the zipper. No hand picking the lining to the zipper!
 |
| Step 13 |
Turn garment right sides together again. Pin the garment seam allowance around and over the lining. Finish stitching the neckline. Clip and trim neckline seam allowance.
 |
| Step 14 |
View from the inside.
View from the outside.
The finished garment.
This technique can be difficult to understand just looking at photos. It is much easier to understand if demonstrated. If you meet me sometime in person, I would be happy to show you this handy technique.


It's a great way to put a zip and lining and I will certainly use it in further makes. I have a question for you. If you cut the zipper at the stop, won't it unravel when washed?
ReplyDeleteI really like this method as well, and have the same query as carmen- does the cut zipper tape edge get captured somehow to keep it from fraying?
ReplyDeleteI love the clean look. So neat!
ReplyDeleteGreat tutorial, thanks for sharing.
ReplyDelete