 | |
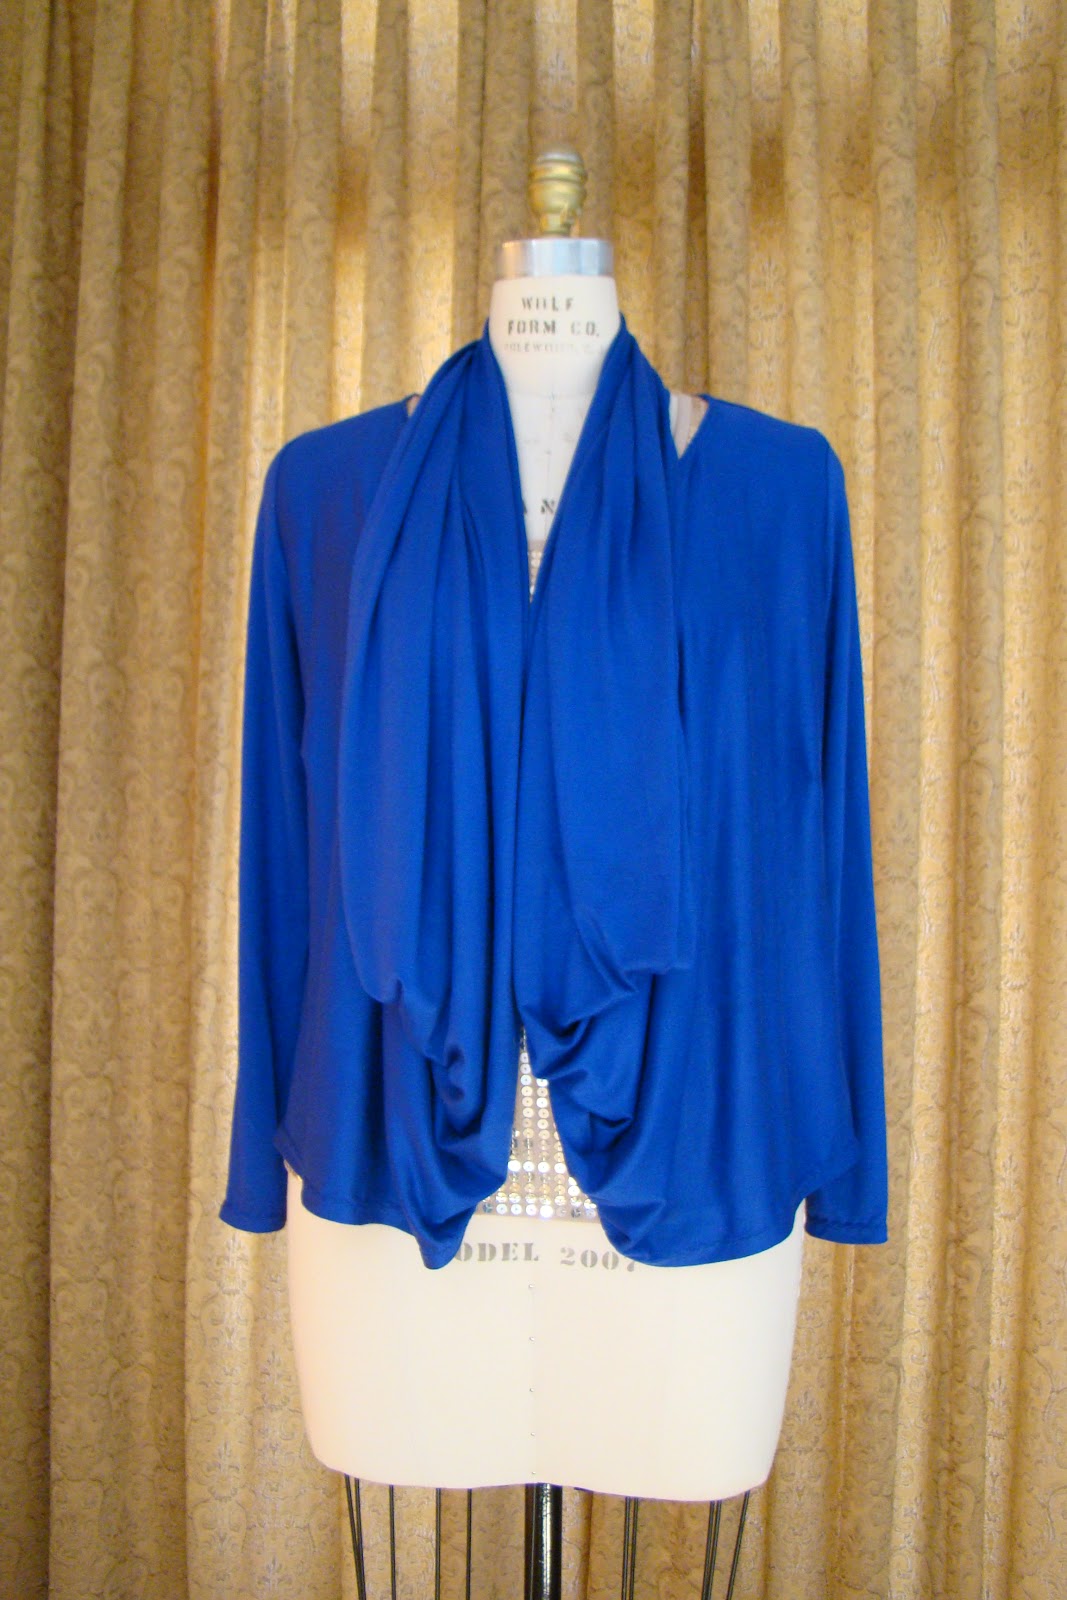
| Front view prior to wrapping |
Perhaps you have shopped and seen the knit tops that can be worn in many styles depending on how you drape the front panel. Pattern #112 is a long sleeve knit top with bust darts and an extra wide front panel to allow for creative draping. The pattern took one hour to cut out in fabric and one hour to sew. I used royal blue rayon/lycra jersey purchased several months ago from voguefabricstore.com.
 | |
| Wrap center front around back of neck and wear as a jacket |
I took center front and lifted it over the head so it rests against the back of the neck. Belt the jacket for a defined waist.
 | |
| Pull center panel to one side and over one shoulder |
An asymmetrical drape is visually appealing. I dragged center front over the left shoulder which created a twist on the front of the garment. The center front panel wrapped around the back of the neck and a portion falls down either the back or the right arm and shoulder. If you wrap snugly, the right arm can be inserted into the end of the wrap panel and the result is more fitted--my favorite look. If the dress form had an arm, I could show you this look!
A belt could be placed under the twist.
 | |
| Twist center front and lift over head |
Twist center front one or two times and lift it over the head to frame an attractive bust.
 | |
| Pull front high to one side and wrap around shoulders |
Center front was pulled tightly across the left side of the bust, then wrapped over the left and right shoulders. Wear an interesting tank or knit top underneath to make this look unique.
Draping should be fun. If you don't own a dress form, place the garment on a friend and experiment. Belts, fashion pins and necklaces are good accessories to try.
A few construction details. I applied 1/2" fusible stay tape to necklines and armholes to stabilize them. Stabilization is necessary because knit garments stretch out of shape while being stitched. I stitched clear elastic to the underside of bust darts to prevent them from lengthening during stitching and wear. The darts are pressed down to the hem and will cover the clear elastic.
 |
| Back panel with fusible tape |
 | |
| Front panel with fusible tape and clear elastic |
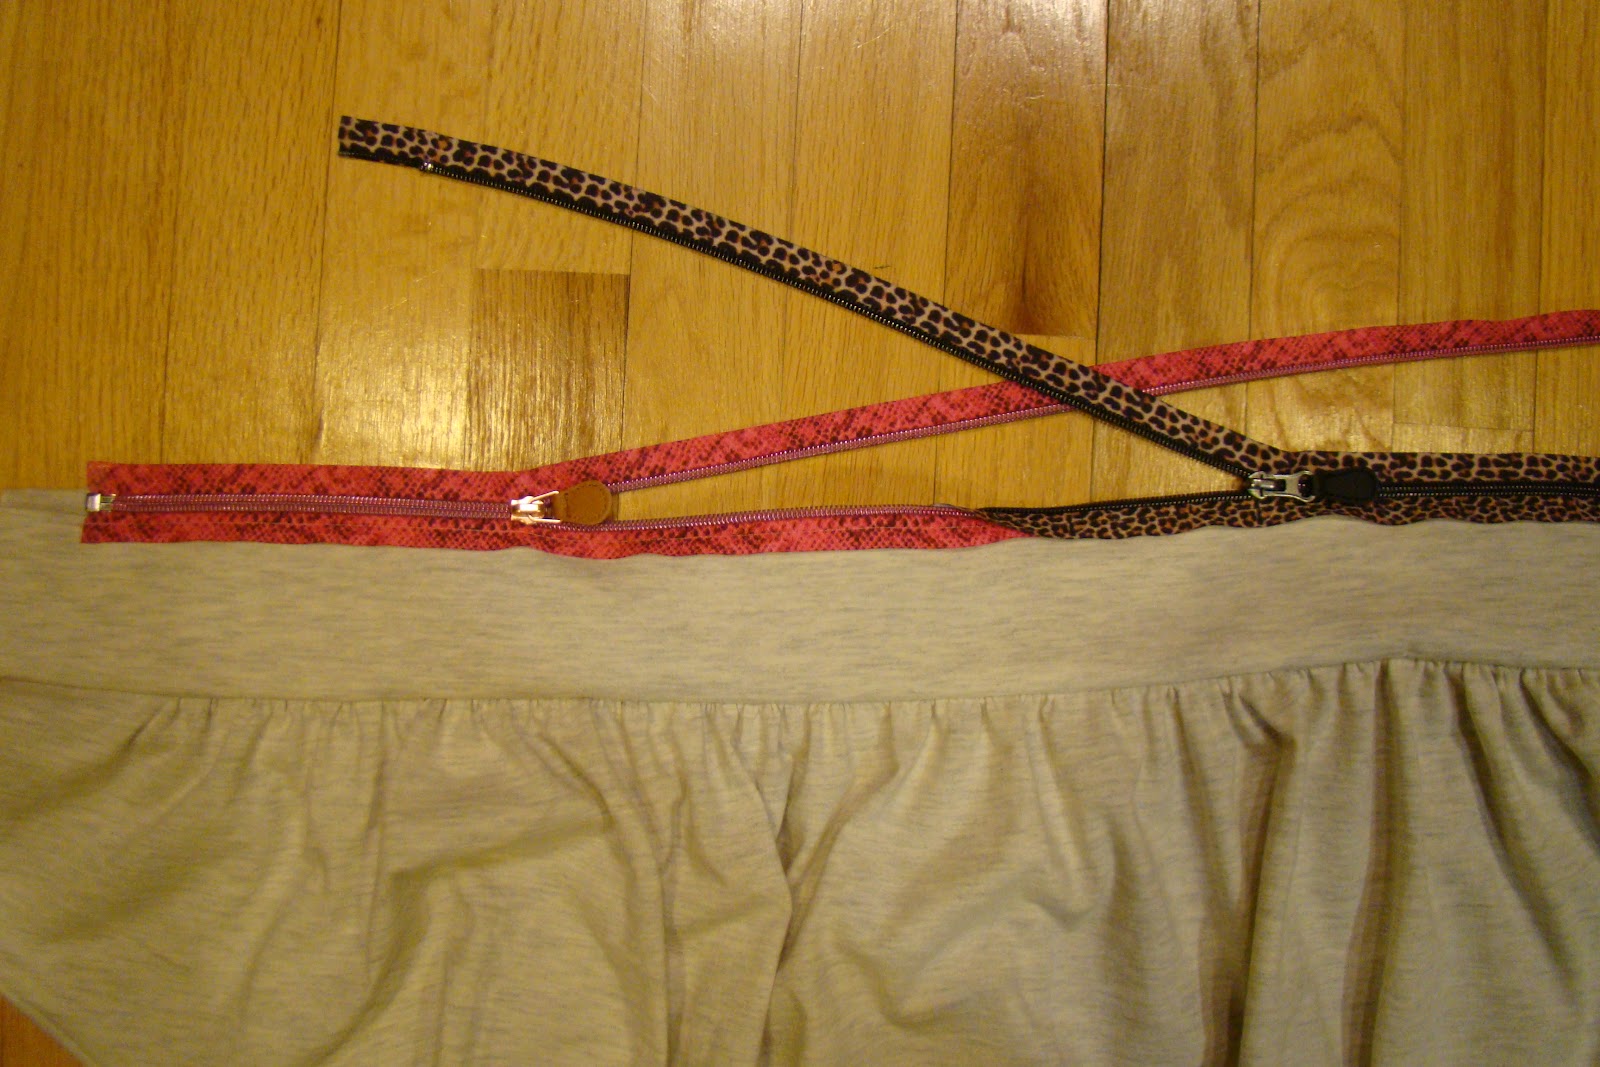
I also tried Silhouette Pattern #212 which is a knit top with zipper accents. My fabric choice was $1.99/yd cream cotton/lycra from the bargain bin at voguefabricsstore.com in Evanston, IL. The zippers were approximately $6 each, purchased at a sewing expo. The zipper is designed so the teeth are not visible from the underside and therefore do not touch the wearer's skin. This eliminates the need for a strip of fabric under the zipper.
 | |
| Decorative zipper teeth and tape |
Here is the completed garment made with pattern #212.


The pattern instructions were great but I changed the order of assembly and interfaced (fusible tricot) the front and back yokes to better support the weight of the zippers. The Silhouette pattern website also sells this 60" wide interfacing in black or white. I assembled the garment from the bottom panel up because the neckline zipper insertion was confusing to me. It was easier to visualize the zipper placement when the garment was assembled and you could see how the yokes would be positioned over the zippers.
 | |
| Application of neckline zipper from yoke wrong side |
Front and back of garment are identical pattern pieces. You shorten the zippers by cutting them off inside the yokes.
 |
| Application of neckline zipper from right side of interfaced yoke |
Tops titch zipper tape to interfaced yoke. Hand or machine stitch yoke facing to back of zipper.
A simple knit garment that took three hours to cut and sew.
Next up with knits is an evening wear option with merlot sequins; check my October posts!
No comments:
Post a Comment